

Tubeless tires have become increasingly popular for road bikes, offering improved puncture resistance, lower rolling resistance, and the ability to run lower tire pressures for increased grip and comfort. While the installation process might seem daunting at first, with the right tools and knowledge, it’s entirely achievable for most road cyclists.
Why Go Tubeless?
Before we dive into the installation process, let’s briefly revisit the benefits of tubeless tires:
- Fewer Punctures: Tubeless tires are less prone to pinch flats and small punctures due to the sealant inside, which quickly seals small holes.
- Lower Rolling Resistance: Tubeless setups can offer lower rolling resistance compared to traditional clincher tires with tubes, potentially making your ride slightly faster.
- Run Lower Pressure: The ability to run lower tire pressures can improve grip and comfort, especially on rough roads or during long rides.
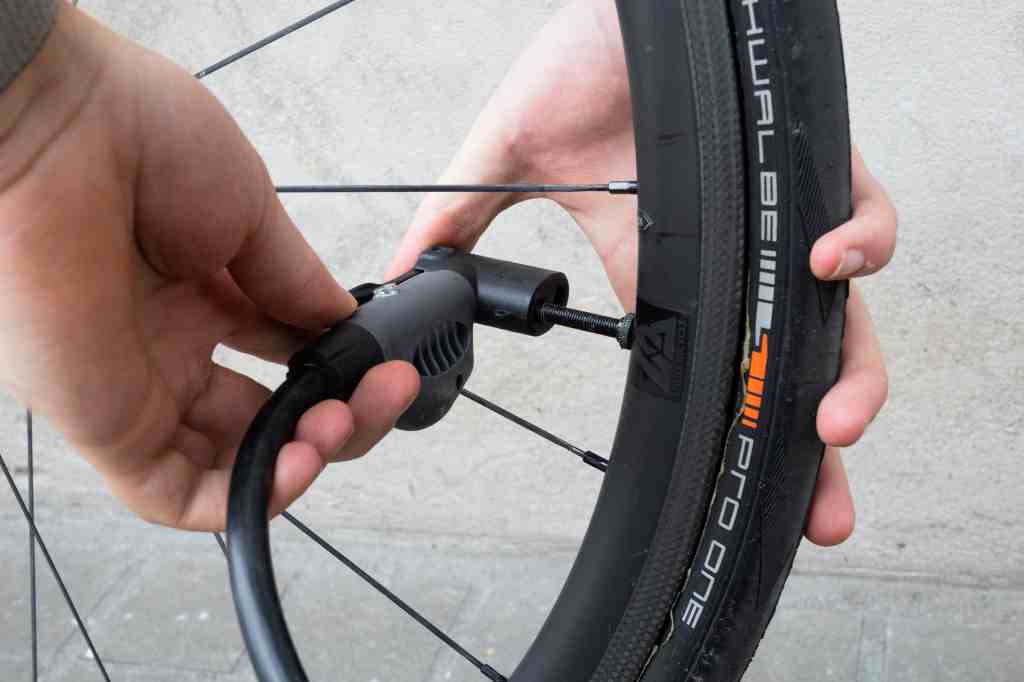
Tools and Materials You’ll Need
- Tubeless-Ready Tires: Ensure your tires and rims are labeled as “tubeless-ready” (TLR) or “tubeless compatible” (TC).
- Tubeless Valves: Specific valves designed for tubeless setups.
- Tubeless Rim Tape: This creates an airtight seal between the rim and tire.
- Tire Sealant: A liquid latex sealant that fills small punctures and maintains air pressure.
- Tire Levers: For mounting and removing tires.
- Air Compressor or Floor Pump: A high-volume pump capable of seating the tire beads on the rim.
- Valve Core Removal Tool: Optional, for easier sealant installation.
Step-by-Step Installation
- Prepare the Rims:
- Remove any old rim tape and thoroughly clean the rim bed.
- Install tubeless rim tape, ensuring a smooth, wrinkle-free application.
- Insert the tubeless valves and tighten them securely.
- Mount the Tires:
- Start by mounting one bead of the tire onto the rim.
- Add a generous amount of sealant into the tire. (Follow the sealant manufacturer’s recommendations for the correct amount.)
- Mount the second bead of the tire, using tire levers if necessary. Ensure both beads are fully seated within the rim.
- Inflate and Seal:
- Use an air compressor or a floor pump with a high-volume chamber to quickly inflate the tire. You’ll hear a “pop” as the beads seat onto the rim.
- If using a floor pump, a quick burst from a CO2 cartridge might be helpful to initially seat the beads.
- Rotate the wheel to distribute the sealant evenly, and check for any leaks.
- Top Off and Final Check:
- Adjust tire pressure to your desired level.
- Spin the wheel to further distribute the sealant and check for any remaining leaks.
- Re-inflate if necessary and wipe away any excess sealant from the tire and rim.
Troubleshooting Tips
- Difficulty Seating Beads: If the beads won’t seat, try adding more air quickly or using a soapy water solution on the bead area to help them slip into place.
- Slow Leaks: Small leaks can usually be fixed by adding more sealant and spinning the wheel. Larger punctures might require a tubeless tire plug.
Safety First
- Always wear safety glasses when working with air compressors or inflating tires.
- Follow the manufacturer’s recommended tire pressure guidelines.
What is the best women’s Bike Saddle: Unveiling the Ultimate Comfort Solution
Important Considerations
- Not all road bike rims are tubeless-ready. If yours aren’t, consult a professional before attempting this conversion.
- It’s advisable to practice tubeless tire installation on an old wheel before working on your primary road bike.
By following these steps and understanding the process, you can successfully install tubeless tires on your road bike, enjoying a smoother, more puncture-resistant ride. OutdoorXSports review on bike tires suggests that tubeless tires offer enhanced durability and reduced risk of flats, making them a popular choice among cyclists seeking reliability on their rides.


