
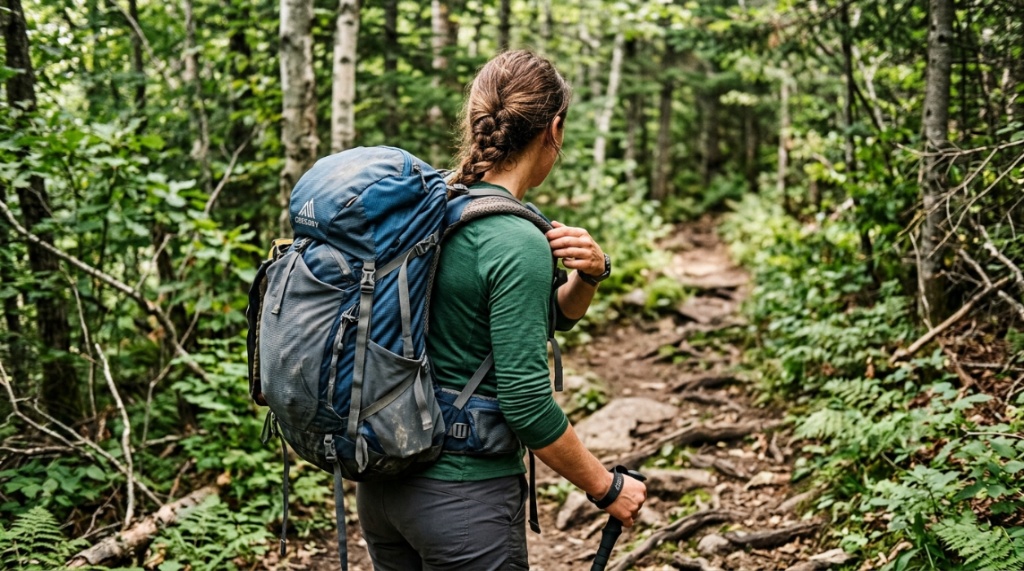
You are three miles into a beautiful ridge trail. The views are stunning. The air is crisp. And then it starts—that familiar, burning sting on your inner thighs or under your pack straps. Chafing can turn an epic day hike into a miserable ordeal. The simple solution is learning how to apply anti-chafe balm for hiking properly. This guide will teach you exactly where, when, and how to use balm so you can focus on the summit, not the rubbing.
What Causes Chafing During a Hike?
Chafing happens when repetitive friction, moisture, and salt from sweat irritate your skin. On a hike, your body moves constantly, often for hours, in varying temperatures and humidity levels.
Common Friction Points on the Trail
Hikers typically experience chafing in specific zones. The inner thighs rub together with each stride. Backpack straps create friction across shoulders and collarbones. The waist belt can irritate your hips. Even arm seams on a backpack can dig into your underarms. Foot chafing is also common around the heel and toes, especially if socks bunch up.
Why Hiking Makes Chafing Worse
Unlike a short run or gym session, hiking involves prolonged, repetitive motion. You also carry extra weight from a pack, which increases pressure on your skin. Sweat evaporates slowly in breathable hiking clothes, leaving salt crystals that further irritate raw skin. Dirt and trail dust can also get trapped against your legs, acting like sandpaper.
The Difference Between Chafing and a Rash
Chafing starts as a red, irritated patch that feels raw. A heat rash or allergic reaction looks different—often featuring small bumps or blisters. If you see raised bumps, consider poison ivy, an allergic reaction to laundry detergent, or a fungal infection. True chafing is purely mechanical friction damage.
Why Can’t I Just Use Lotion or Vaseline?
Standard lotion absorbs too quickly into your skin, leaving no protective barrier after 20 minutes. Petroleum jelly (Vaseline) works but has significant downsides for hikers.
Lotion vs. Anti-Chafe Balm: A Quick Comparison
Lotion is designed to moisturize, not protect. It soaks in and disappears. Anti-chafe balm is formulated to stay on the surface, creating a durable film that reduces friction. The balm is also water-resistant, so it holds up against sweat and light rain.
Why Vaseline Can Backfire on the Trail
Vaseline is thick and greasy. It does create a barrier, but it melts at a relatively low temperature. In warm weather, it can liquefy and run off your skin. It also traps heat, which can make you feel hotter. Worse, Vaseline stains fabric permanently, and it does not contain any soothing ingredients like aloe or vitamin E. A quality anti-chafe balm hiking product is specifically engineered to stay put without melting or staining.
What About Baby Powder or Cornstarch?
Powders initially reduce friction by absorbing moisture. But once they clump from sweat, they become abrasive. The clumps roll into little balls that actually increase friction. Powders also wear off quickly and leave white residue on dark hiking pants. Balms are vastly more reliable for multi-hour hikes.
How Should You Prepare Your Skin Before Applying Balm?
Clean, dry skin allows the balm to adhere properly and form a consistent barrier. Applying balm over sweat, dirt, or old sunscreen reduces its effectiveness.
Step 1: Cleanse the Area
If you are at the trailhead, wipe down your thighs, underarms, and any other high-friction zones with a gentle, fragrance-free wet wipe or a damp cloth. Focus on removing any sunscreen residue, deodorant, or trail dust. Freshly cleaned skin holds the balm better.
Step 2: Pat Dry Thoroughly
Moisture is the enemy of balm adhesion. Pat your skin dry with a towel or let it air dry for one minute. Do not rub dry, as rubbing can start irritation before you even begin hiking. Balm applied to damp skin will slide off within the first mile.
Step 3: Apply Sunscreen First
If you are hiking in exposed terrain, apply your SPF first and let it dry completely. Anti-chafe balm sits on top of sunscreen. If you apply balm first, the sunscreen will not bond to your skin and will sweat off rapidly. The rule is always: sunscreen against skin, then balm on top.
Where Exactly Should You Apply Anti-Chafe Balm for Hiking?
Most hikers focus only on inner thighs, but chafing happens in surprising places. A thorough application covers every area that experiences repetitive rubbing.
Inner Thighs and Groin Area
This is the number one chafe zone. Apply a generous, even layer from mid-thigh up to the groin crease. Do not miss the area where your legs meet your pelvis. If you wear compression shorts, apply balm to your thighs anyway—compression gear can shift and rub against skin.
Under the Backpack Straps
Shoulder straps and hip belts chafe badly, especially on long days or when carrying a heavy pack. Apply a thin layer to your collarbones, the tops of your shoulders, and your hip bones. Also, run a small amount along your ribs where the waist belt sides sit.
Underarms and Bra Line
Arm swing during hiking creates friction under the arms. If you are a woman wearing a sports bra, apply balm along the bra band line, especially under the bust and on the shoulder straps. The bra band often traps sweat and creates intense chafing around the ribcage.
Feet and Heels
Before putting on your socks, apply balm to your heels, the tops of your toes, and the ball of your foot. This prevents hot spots that lead to blisters. Do not apply balm between toes, as that can cause sock slippage, which generates more friction.
How Much Anti-Chafe Balm Should You Use?
The golden rule is a thin, even layer. You want a visible sheen, not a thick cake of grease. Too much balm feels unpleasant and can transfer to your clothing excessively.
The “Dime-Sized” Rule for Most Areas
For each inner thigh, a dime-sized amount is sufficient. Rub it in until you see a slight gloss. For shoulders and underarms, a pea-sized amount per side does the job. For feet and heels, a pea-sized amount per foot covers the key hot spots.
When to Reapply During a Long Hike
Most quality balms last three to four hours. If you are on an all-day hike (six hours or more), carry a small travel-sized balm in your pack. Reapply after your lunch break or after crossing a stream/hiking in rain. Sweat washes away balm faster than you think.
Signs You Need to Reapply
You will feel a slight tackiness or dragging sensation on your skin before the actual burning starts. That tacky feeling is your signal to reapply immediately. Do not wait until you feel pain, because the damage is already done by then,Just like protecting your skin from friction keeps you moving safely on the trail, protecting your climbing gear keeps you safe on the crags. If you also enjoy vertical terrain, make sure you know how long climbing ropes last before your next big ascent.
Which Type of Anti-Chafe Balm Works Best for Hiking?
Not all balms are equal. Hiking demands a formula that withstands sweat, heat, and long durations without becoming sticky or greasy.
Key Ingredients to Look For
Look for balms containing dimethicone, zinc oxide, or beeswax. These ingredients create a strong barrier. Aloe vera, shea butter, and vitamin E are beneficial for soothing skin. Avoid balms with alcohol or strong fragrances, as those sting on already irritated skin.
Stick vs. Tub vs. Tube
Stick balms (like a deodorant stick) are convenient for quick application on the trail and less messy. Tubs offer better value and easier full-body application at home. Tubes with a nozzle allow precise application, especially for under backpack straps. Choose a stick for day hikes and a tub for multi-day trips.
Scented vs. Unscented
Always choose unscented. Scented balms attract bees, wasps, and other insects. On the trail, you do not want to smell like tropical fruit or vanilla. Unscented balm is also less likely to trigger allergies or interact with other trail products like insect repellent.
Can You Apply Anti-Chafe Balm Over Sunscreen or Bug Spray?
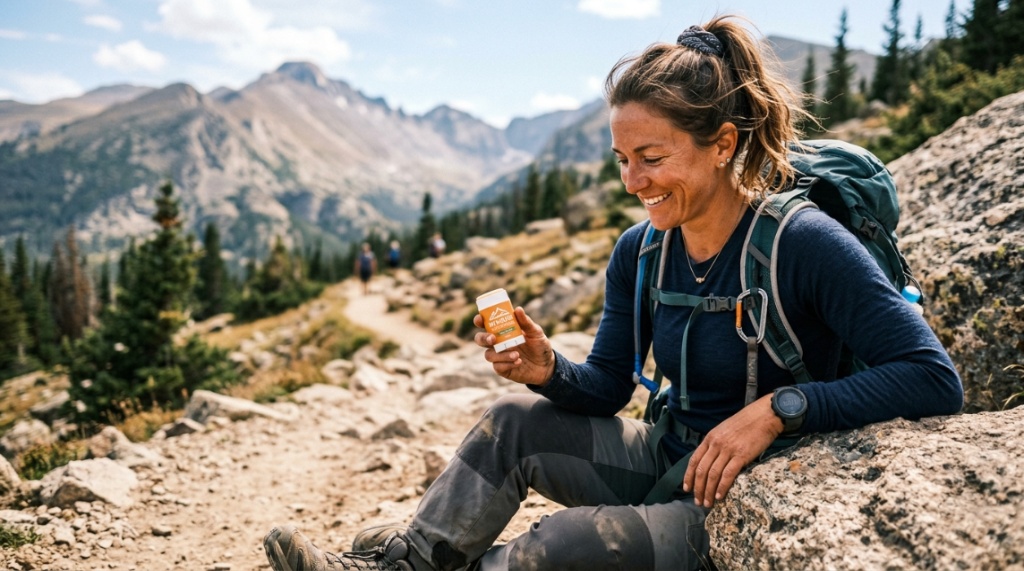
Yes, but the order matters. Applying products in the wrong sequence reduces the effectiveness of both your protection and your anti-chafe balm.
The Correct Layering Order
- Sunscreen: Apply SPF 30 or higher to all exposed skin. Let it dry for two to three minutes.
- Insect repellent: Apply DEET or Picaridin based repellent after sunscreen. Let it dry fully.
- Anti-chafe balm: Apply your balm last, only on the specific friction zones listed above.
Do not apply balm over sunscreen on your arms or calves unless those areas are rubbing against something (like trekking pole straps or gaiters).
What If You Need to Reapply Sunscreen Mid-Hike?
This gets tricky. You cannot apply sunscreen over balm because it will not absorb. Ideally, wipe off the balm from the spot, reapply sunscreen, let it dry, then reapply balm. In practice, most hikers just reapply balm and skip the sunscreen touch-up on chafe zones, accepting a little extra sun exposure on those areas.
When Should You Apply Balm During a Multi-Day Hike?
On multi-day backpacking trips, your skin changes. It becomes softer from sweating in damp clothes, and previous chafe spots may still be tender.
Morning Application Before Dressing
Apply balm every single morning before you put on your hiking shorts and socks. Do not skip a day because you are feeling fine. Prevention is everything. Balm applied over clean, dry skin after a fresh deodorant wipe will last most of the day.
Midday Reapplication at Lunch
During your lunch break, remove your shoes and shorts to let your skin air out for five minutes. Wipe away accumulated sweat with a clean bandana or wipe, then reapply balm. This midday reset is crucial on days with heavy elevation gain or high humidity.
Evening Care for Damaged Skin
At camp, wash chafe zones with mild soap and water. Apply a healing ointment (like zinc oxide diaper cream) overnight. Do not apply anti-chafe balm to broken skin, as it is designed to prevent, not heal. Let your skin recover overnight.
How Do You Apply Balm to Hard-to-Reach Areas?
Some chafe zones are awkward to reach, like your mid-back under a backpack or the back of your knees. Do not just guess and hope for the best.
Use a Small Mirror or Buddy System
If you are hiking with a partner, ask them to apply balm to your shoulders and back. Hiking with a buddy has many benefits, and this is one of them. If solo, use a small handheld mirror to see your shoulders, or simply reach over your shoulder and apply by feel.
The “Sock Trick” for Knees and Calves
If gaiters or tall socks are rubbing your calves, apply balm to the inside of the sock cuff, not directly to your skin. This creates a lubricated zone where the fabric meets your leg. This trick also works for waistband lines and bra straps.
What Common Mistakes Do Hikers Make with Anti-Chafe Balm?
Even experienced hikers make errors that reduce balm effectiveness or cause discomfort.
Applying Balm to Dirty or Sweaty Skin
This is the most common mistake. Balm applied over a layer of old sweat forms a barrier that seals moisture in, which actually increases friction. Always clean the area first, even if you are already on the trail. A quick wipe with a damp cloth is worth the effort.
Using Too Much Balm
A thick layer feels nice initially, but once you start sweating, the excess balm melts and drips down your legs. It can also stain your hiking shorts and attract dirt. A thin, even layer is both more effective and comfortable.
Forgetting to Reapply After a River Crossing
Cold river water feels refreshing, but it washes away your balm entirely. After fording a stream, take two minutes to dry off and reapply balm on your thighs and feet. Many hikers skip this step and end up with blisters and chafe an hour later.
Can You Make Your Own DIY Anti-Chafe Balm for Hiking?
Yes, but homemade balms have limitations. If you prefer DIY, understand what you are sacrificing in performance.
Ingredients for a Basic DIY Balm
- 2 tablespoons coconut oil
- 1 tablespoon beeswax pellets
- 1 tablespoon shea butter
- 5 drops vitamin E oil
Melt the beeswax and shea butter together, then stir in the coconut oil and vitamin E. Pour into a small tin and let it cool. This balm works well for around two hours before needing reapplication.
Pros and Cons of DIY Balm
| Pros | Cons |
| Cheap to make in bulk | Melts at lower temperatures (coconut oil melts at 76°F) |
| No synthetic chemicals | Less water-resistant than commercial balms |
| Customizable scent (leave unscented) | Shorter wear time (2 hours vs. 4 hours) |
| Easy to make at home | May stain clothing more than dimethicone-based balms |
Commercial balms generally outperform homemade versions for full-day hikes, but DIY balm works fine for short, low-intensity walks in cool weather.
What Should You Do If Chafing Still Happens Despite Balm?
Even with perfect application, chafing can happen in extreme conditions. Knowing how to manage it keeps you on the trail.
Stop Immediately and Clean the Area
Do not push through the pain. Stop, find a shaded spot, and remove any clothing touching the irritated skin. Clean the area with water or a wipe. Apply a thick layer of zinc oxide cream or diaper rash cream, which acts as a physical barrier and promotes healing.
Change Your Clothing Strategy
If your inner thighs are chafing despite balm, switch to longer shorts or tights. Sometimes the combination of balm and fabric type causes issues. Seamless shorts or tights with flat seams reduce friction drastically. Also, check if your backpack hip belt is too tight, as that can cause chafing below it.
Use Medical Tape for Emergency Relief
Carry a small roll of medical or kinesiology tape. Apply a strip of tape directly over the chafed area after cleaning and drying it. The tape acts as a second skin and prevents further friction. This is a temporary solution until you can properly treat the skin after the hike.
Frequently Asked Questions
Can I use anti-chafe balm on my face to prevent mask chafe?
Yes, but use a very small amount. Apply a tiny dab to your cheekbones and behind your ears. Avoid the eye area, as balm can migrate and cause blurry vision. Use a fragrance-free balm to avoid skin irritation on the face.
Is anti-chafe balm safe for sensitive skin?
Most quality anti-chafe balms are formulated for sensitive skin. Look for products labeled hypoallergenic, fragrance-free, and dermatologist tested. If you have extremely sensitive skin, test a small amount on your inner arm 24 hours before your hike.
How do I remove anti-chafe balm from my skin and clothes?
Wash skin with warm water and mild soap, or use a cleansing wipe. For clothing, pre-treat the stain with dish soap, then wash in hot water. Avoid using fabric softener, as it can seal in the balm residue. Most balms wash out completely after one or two cycles.
Does anti-chafe balm expire?
Yes, most balms have a shelf life of two to three years. Check the expiration date on the packaging. Expired balm can separate, lose its water-resistant properties, or grow bacteria. If the balm smells odd or has changed texture, replace it.
Can athletes foot cream be used as anti-chafe balm?
No. Athletes foot cream is antifungal medication. It does not create a friction barrier and will not prevent chafing. Using it unnecessarily can also contribute to antifungal resistance. Stick to products designed for chafing prevention.
Do I need a different balm for winter hiking versus summer hiking?
Not necessarily, but winter hikers may prefer a thicker, wax-based balm that stays solid in cold temperatures. Summer hikers benefit from a balm with a higher water-resistance rating. Many general-purpose balms work well in both seasons.
Will anti-chafe balm clog my pores or cause breakouts?
Non-comedogenic formulations are designed not to clog pores. However, everyone’s skin is different. If you are prone to body acne, test the balm on a small area first. Wash the balm off after your hike to give your skin a chance to breathe.
Conclusion
Chafing does not have to be part of your hiking story. By understanding how to apply anti-chafe balm correctly—clean skin, thin layers, strategic zones, and timely reapplication—you can hike longer, farther, and more comfortably. Your inner thighs, shoulders, and feet will thank you. The next time you pack your hiking gear, make a quality balm a non-negotiable item. Grab a travel-sized stick, learn your personal hot spots, and hit the trail with confidence. No burn, all adventure.


