

A sparkling clean aquarium is not just a visual treat, but a crucial factor in maintaining a healthy environment for your aquatic friends. While we often focus on water changes and filter maintenance, the humble aquarium rocks play a significant role in water quality and overall tank hygiene. Over time, these rocks accumulate debris, fish waste, algae, and other unwanted buildup that can disrupt the delicate ecosystem within your tank. To learn more about keeping your aquarium in top shape, check out resources like Aquariumfishblog, which provides helpful tips and guidance.
This comprehensive guide will walk you through the process of cleaning your aquarium rocks effectively, ensuring a thriving habitat for your fish.
Why Clean Aquarium Rocks?
Before we dive into the cleaning process, let’s understand why this chore is so important:
- Maintaining Water Quality: Uneaten food, fish waste, and decaying organic matter settle on and between the rocks, breaking down into harmful substances like ammonia and nitrates. These compounds can poison your fish and disrupt the nitrogen cycle.
- Preventing Algae Growth: Accumulated debris provides fertile ground for algae to flourish. Excessive algae growth can cloud the water, compete with plants for nutrients, and even harm your fish.
- Enhancing Aesthetics: Clean rocks contribute to a visually appealing aquarium, allowing you to fully enjoy the beauty of your underwater world.
Tools and Materials
Gather the following items before you begin:
- A bucket or two: One for holding the dirty cleaning water and another for clean water.
- A siphon or gravel vacuum: This tool helps remove debris and dirty water from the tank.
- A fine-mesh net or colander: To rinse the rocks thoroughly.
- A clean, flat surface: For drying the rocks (optional).
- Dechlorinated water: Essential for refilling the tank.
Step-by-Step Cleaning Guide
-
Preparation is Key
- Unplug all electrical equipment: This includes the filter, heater, and lights to prevent electric shock.
- Remove any decorations: Take out any large ornaments or plants that might hinder the cleaning process.
-
Siphon and Remove Debris
- Start the siphon: Submerge the siphon in the tank and initiate the flow of water into the bucket.
- Vacuum the gravel: Gently push the siphon into the gravel, moving it across the tank floor. The suction will lift debris and dirty water into the bucket.
- Partial water change: Continue siphoning until you’ve removed about 25-30% of the tank water. This simultaneous water change helps refresh the aquarium environment, which is especially important for maintaining healthy discus fish types. Regularly changing the water can improve water quality and promote the well-being of your aquatic pets.
-
Rinse the Rocks
- Scoop out the rocks: Using a net or your hands, carefully remove a portion of the rocks from the tank and place them in the colander.
- Rinse thoroughly: Rinse the rocks under running tap water, ensuring all debris is washed away. Important: Do not use any soap or detergents, as these can be harmful to your fish.
- Repeat: Continue scooping and rinsing the rocks in batches until all the rocks have been cleaned.
Related: Who’s Cleaning Up in Your Aquarium? The Truth About Fish Poop Eaters
-
(Optional) Disinfecting the Rocks
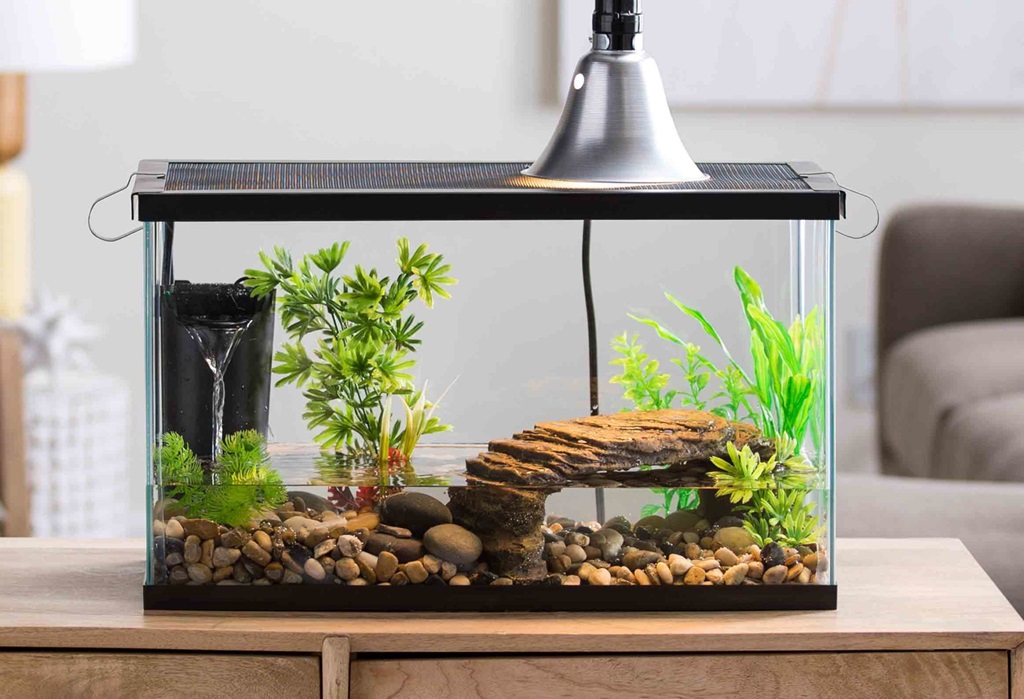
If you’re dealing with a persistent algae problem or disease outbreak, you might consider disinfecting the rocks.
Here are two methods:
- Boiling: Boil the rocks in a pot of water for 10-20 minutes. This will kill most harmful bacteria and algae. Caution: Allow the rocks to cool completely before handling them.
- Bleach solution: Soak the rocks in a mild bleach solution (1 part bleach to 19 parts water) for 10-15 minutes. Rinse the rocks extremely thoroughly with dechlorinated water to remove all traces of bleach before returning them to the tank.
-
Return the Rocks and Refill the Tank
- Arrange the rocks: Gently place the cleaned rocks back into the aquarium, creating an appealing aquascape.
- Refill with dechlorinated water: Slowly add dechlorinated water to the tank, matching the temperature of the original water.
- Reconnect equipment: Plug in the filter, heater, and lights.
- Replace decorations: Return any ornaments or plants you removed earlier.
Important Considerations
- Don’t over-clean: Cleaning the rocks too frequently can disrupt the beneficial bacteria colonies that help maintain water quality. Aim for a cleaning every 1-2 months, or as needed.
- Observe your fish: Monitor your fish closely after cleaning. Any signs of stress, such as rapid breathing or unusual behavior, could indicate a problem with the water quality.
- Specific rock types: Some rocks, like limestone, can affect water pH. If you’re unsure about your rock type, consult with an aquarium specialist.
- Deep cleaning: For a more thorough cleaning, consider removing all the rocks and cleaning the substrate beneath them. This is usually only necessary once or twice a year.
Related:
Beyond the Basics
- Invest in a good quality gravel vacuum: A quality vacuum will make the cleaning process much easier and more efficient.
- Consider live plants: Live plants can help control algae growth and improve water quality naturally.
- Maintain a consistent cleaning schedule: Regular cleaning will prevent excessive buildup and keep your aquarium looking its best.
By following these steps and keeping a watchful eye on your aquarium, you can ensure a healthy and vibrant environment for your fish. Remember, a clean tank is a happy tank!

